
Preserve quality by starting with the best original, choosing the final dimensions once and inspecting the exported copy. Resizing changes the pixel grid; it cannot promise that every detail survives a reduction or that enlargement recovers detail that was never present.
Start with the output you need
Write down the destination’s pixel dimensions, aspect ratio, accepted format and byte limit. For print, include the physical size and requested PPI. “Smaller file” and “smaller picture” are different tasks: reducing JPEG quality changes compression, while reducing width and height changes the amount of image data.
Choose a sensible viewing size for your comparison. A web thumbnail does not need the same pixel grid as a large print. If your output already meets the requirement, a needless resize can introduce changes without helping the viewer. Keep the original available so every experiment starts from the best version rather than from yesterday’s compressed export.
Shrinking: fewer pixels, deliberate detail loss
Downsampling combines information from the original into a smaller grid. This can be appropriate for web delivery, but fine lines, tiny text, repeating patterns and texture may change. A reduction from 4000 × 3000 to 2000 × 1500 keeps half of each edge and one quarter of the pixel positions.
Inspect areas where the task depends on detail: product labels, handwriting, diagrams and thin borders. If text becomes unreadable, increasing the compression quality cannot restore the pixels removed by the resize. Choose larger dimensions, simplify the design or provide the text separately. Judge the final image at the size people will actually view it.
Enlarging: more positions, limited source detail
Upsampling estimates additional pixel values. It may make an image fit a layout or reduce obvious blockiness, but it does not turn an out-of-focus source into a faithful high-resolution photograph. A larger file is not proof of more authentic detail. Treat any generated enhancement as a separate transformation, especially where factual visual information matters.
Before enlarging, look for an original export, a camera file or a larger licensed source. A screenshot of a thumbnail is rarely the best starting point. If no better source exists, consider a smaller display area, extra margin or a print viewed from farther away. These decisions can be more honest and useful than promising a lossless enlargement.
Choose crop, pad or proportional resize
Keep the aspect ratio when you want the full picture to retain its shape. If the target rectangle differs, cropping removes content to fill it, while padding keeps the complete picture within added space. Stretching forces a match and can distort circles, faces and lettering.
For example, a 3000 × 2000 image is 3:2. A square product tile is 1:1. A square crop may cut off part of the product; padding may be the right answer when showing the whole item is more important than filling every pixel. Review the crop around the actual subject rather than assuming a centered crop is always safe.
Choose compression after dimensions
After choosing the dimensions, select a format that matches the content and destination. For photographs, compare a few lossy quality settings and look for blocking, ringing and smeared texture. For transparent graphics or sharp flat artwork, check that the chosen format preserves the features you need. JPEG cannot preserve an alpha channel.
Avoid repeatedly opening and resaving lossy intermediates. Keep a master and export the final delivery copy from it. Converting a degraded JPEG to a lossless format can prevent another lossy encoding step, but it does not undo damage already present in the source. Read the actual output byte count instead of predicting size from a quality slider.
For print, calculate before resizing
At 300 PPI, a 6 × 4 inch landscape print needs 1800 × 1200 pixels. A 3600 × 2400 original already contains twice those edge dimensions. You may not need to alter the pixel grid at all if the printer accepts the larger file. A DPI label and the final placement size are separate from the resizing decision.
If your original is 900 × 600, enlarging it to 1800 × 1200 satisfies the target grid but does not provide the same detail as a native 1800 × 1200 capture. Keep this distinction when evaluating a print proof. Also include bleed and the final crop in the calculation where the print template requires them.
Make a useful before-and-after comparison
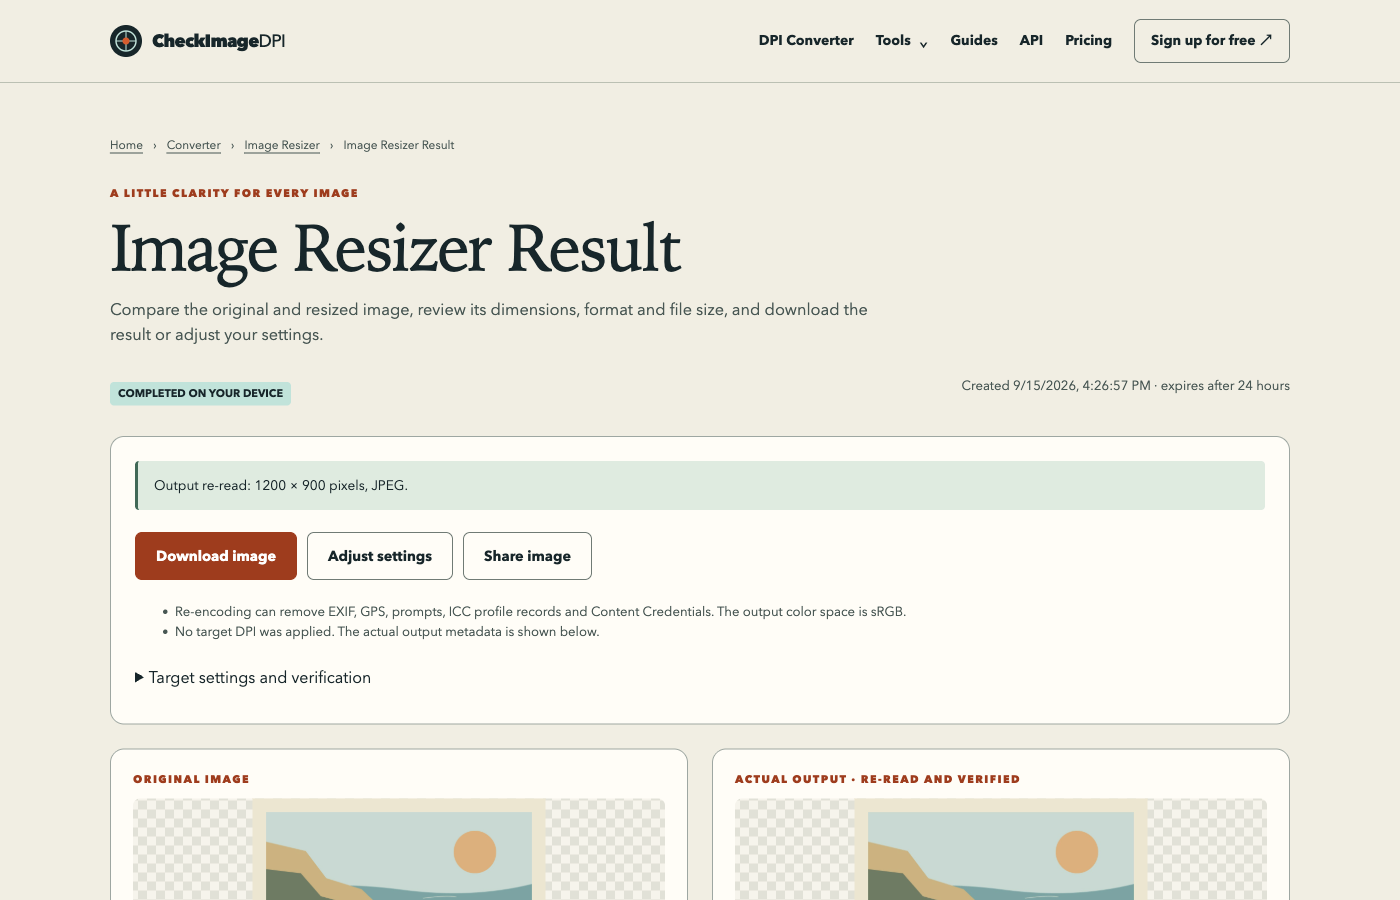
Compare the original and output at equivalent display sizes, then zoom into relevant details. Looking at both at 100% displays different physical areas when their dimensions differ; that can exaggerate or hide a quality change. Use both views deliberately: fitted view for composition and pixel view for artifacts.
Check orientation, transparency and colour as well as detail. A format conversion can affect metadata or colour handling. Test a transparent edge against the intended background, and reopen the downloaded file in the software used by the destination. The browser preview is helpful, but the saved output is what you will deliver.
A repeatable export checklist
Record the source filename, target dimensions, fit mode, output format and quality setting. Keep the result with a name that distinguishes it from the master. If the output fails a size limit, change one variable at a time so you can tell whether dimensions or compression solved the problem.
Stop once the file meets the destination’s constraints and your visual acceptance check. Further resampling or compression can undo a good result. For critical work, ask the intended viewer or print provider to review a representative output. “Without losing quality” is best treated as a requirement to inspect meaningful details, not as a blanket guarantee about every resize.
Sources and method
Reviewed on September 15, 2026. Numerical examples are worked calculations, not measurements of your image. Linked product documentation describes the cited application or standard; CheckImageDPI examples and test observations are identified separately.
Frequently asked questions
Can resizing be mathematically lossless?
A density-only change can preserve the pixel grid, but changing pixel dimensions generally changes image data. A lossless file codec does not make a resize itself lossless.
Should I change DPI to reduce a website image?
Use pixel dimensions and compression for a web image requirement. Changing the density label alone does not reduce the pixel grid.
Is a higher quality setting always better?
It can increase bytes without a useful visible improvement. Compare the actual output at the intended viewing size.