
Check both recorded resolution axes, then compare the available pixels with your planned print dimensions. An image can carry a 300 DPI label and still be too small for the job. It can also lack that label while containing all the pixels you need.
Two tests for “300 DPI”
The first test is a metadata test: does the file report approximately 300 pixels per inch horizontally and vertically? The second is a placement test: does the image provide at least the requested pixel density at the size where it will be printed? Keep both answers because a printer’s upload check and the final layout may use different information.
For a strict delivery specification, ask whether 300 means an exact tag value, a minimum effective density or both. Also ask for the finished dimensions and whether bleed is included. Those details determine the pixel requirement; the number 300 alone does not.
Inspect the stored label on both axes
Open the original file in DPI Checker and record the dimensions, horizontal density, vertical density and field sources. If both values match the requested density, the metadata test passes for the fields being read. If only one axis matches, retain that distinction. Do not average 300 and 150 into 225 and call the result acceptable.
If values conflict across records, a receiving application may choose a different source than your local preview. Correct the conflicting records with a suitable density-only tool, then inspect the actual downloaded file. Avoid converting formats just to change a label unless the destination also requires a new format.
Calculate the pixels your print needs
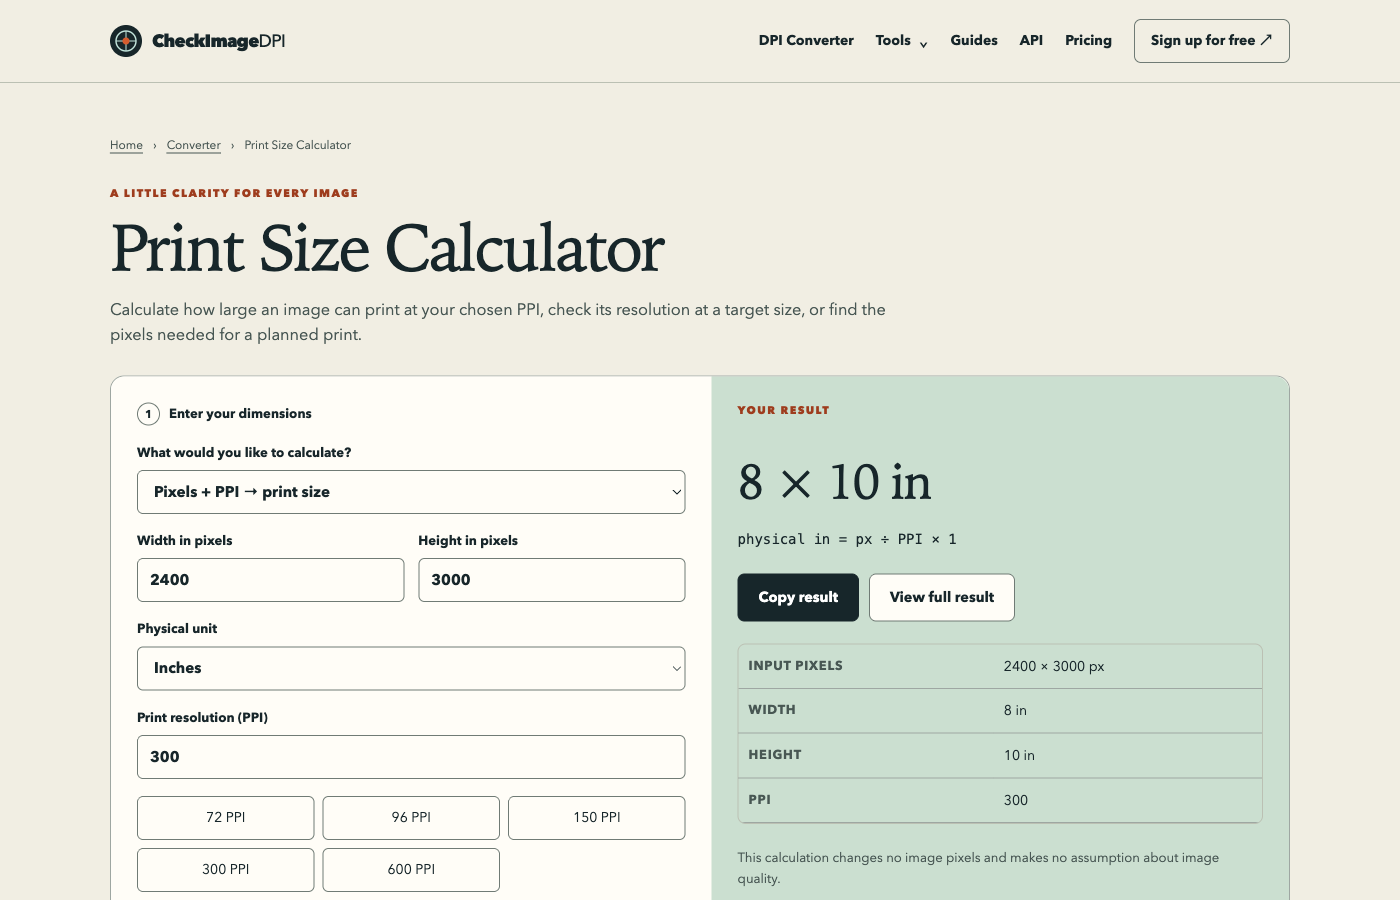
At 300 PPI, multiply inches by 300 on each axis. A 4 × 6 inch photo needs 1200 × 1800 pixels. A 5 × 7 needs 1500 × 2100. An 8 × 10 needs 2400 × 3000. These are exact arithmetic examples at the stated density, not guarantees that every file with those dimensions will look good.
A 600 × 900 image tagged 300 PPI fits 2 × 3 inches at that density. Enlarging its placement to 4 × 6 inches leaves only 150 PPI. This is why the label alone cannot certify a print. The input must also have the right aspect ratio, or the final crop may reduce the usable pixels.
| Print size | Pixels at 300 PPI | Shape |
|---|---|---|
| 4 × 6 in | 1200 × 1800 | 2:3 |
| 5 × 7 in | 1500 × 2100 | 5:7 |
| 8 × 10 in | 2400 × 3000 | 4:5 |
Metric sizes and small rounding differences
For centimetres, divide by 2.54 before multiplying by 300; for millimetres, divide by 25.4. A 210 mm edge at 300 PPI requires about 2480.315 pixels. Since a raster image uses whole pixels, a nearest-integer result differs slightly from the unrounded calculation. If a specification requires at least 300 PPI at that exact size, round upward rather than silently dropping below the minimum.
A density record can also round. PNG stores physical density as whole pixels per metre, so a value close to 300 PPI can be the normal representation of a requested 300 setting. Keep the raw density and display rounding distinguishable. Do not demand a decimal equality that the container cannot encode exactly.
When changing the label is enough
Suppose your artwork is already 2400 × 3000 pixels and will print at 8 × 10 inches, but its recorded label is 72 PPI. Its pixel grid already meets the 300 PPI calculation. A density-only change can set the requested label without resampling. Save a new copy, reopen it and verify that the dimensions did not change.
The same action on a 600 × 750 image does not create the 2400 × 3000 pixels required for that print. You must choose a smaller output, find a larger original or deliberately resample with the understanding that the source detail is limited.
Check the final crop and bleed
A 3:2 photograph does not fill an 8 × 10 inch frame without cropping or padding. If you calculate density from the uncropped width but then remove part of it, you can overstate the pixels that actually reach the print. Make the composition decision first, then calculate from the retained image area.
Bleed is additional artwork beyond the trim, not permission to enlarge the finished design unpredictably. For example, 3 mm bleed adds 6 mm to each overall dimension. Use the printer’s template and keep important text inside its safe area. A density pass cannot check whether your subject or text sits safely inside the crop.
Verify the file after export and upload
Keep an untouched original. Inspect the exported copy for dimensions, resolution, orientation and visible compression. Then check the destination’s preview and its fit or scale options. A print service can resize an accepted file, so a successful upload does not by itself prove the final physical placement.
If the service still rejects the image, capture its exact requirement or error without exposing private order details. Determine whether the failure concerns bytes, format, dimensions, ratio or density. Fix that specific issue instead of repeatedly raising the DPI number. For important work, request a proof or a small test print before committing to a large run.
Sources and method
Reviewed on September 15, 2026. Numerical examples are worked calculations, not measurements of your image. Linked product documentation describes the cited application or standard; CheckImageDPI examples and test observations are identified separately.
Frequently asked questions
Can a 300 DPI image be blurry?
Yes. A label does not measure focus, compression or the amount of detail in the original.
Is 299.999 PPI automatically a failure?
Not necessarily. Inspect the format’s rounding and the destination’s requirement rather than treating every small decimal difference as a quality problem.
Can I turn 72 DPI into 300 DPI?
You can change the label in a supported file. That does not add pixels or change its actual detail.