
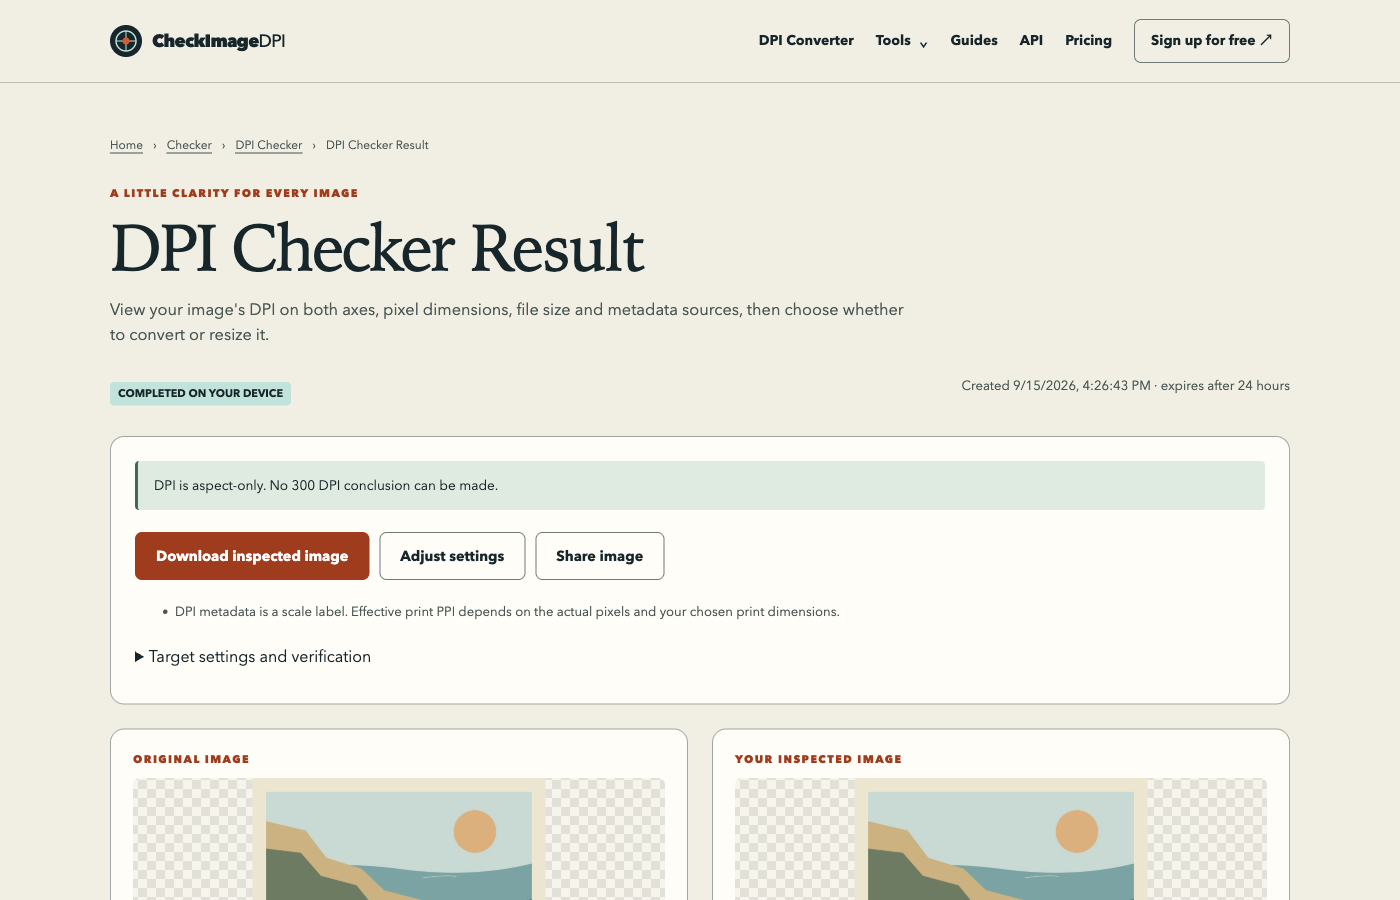
To check an image’s DPI, inspect the original file’s horizontal and vertical resolution metadata, then read its pixel dimensions. If the file has no physical density, the honest answer is “not specified.” To judge a print, also calculate effective PPI at the size you actually intend to use.
1. Start with the original file
Use the downloaded image file, not a screenshot of the page displaying it. A screenshot is a new pixel grid and can carry different metadata. Likewise, a social app may send an exported copy rather than the camera original. Name the file you are checking so your report remains attached to the correct version.
Before you begin, decide which question you need answered: “What density is stored?” or “Will this image support my print size?” They are related, but they are not interchangeable. You can record a density even without knowing the final layout; you cannot calculate effective print density without a physical size.
2. Read dimensions, both axes and sources
After selecting the image, note its pixel width and height first. Then read the horizontal and vertical DPI/PPI values. Both axes matter: a file can record different densities horizontally and vertically. Preserve any warning that the values are missing, invalid or contradictory.
The source label tells you which metadata record supplied the value. A JPEG may carry more than one resolution record, while other formats have different ways to store density. If two records disagree, an application that selects one source may display a different number from another application. That disagreement is useful diagnostic information; do not remove it from the report just to obtain a single tidy answer.
3. Treat missing density as missing
A pixel grid does not require an inch-based density to be useful. A 2400 × 3000 image contains those pixels whether a DPI label is present or not. Some workflows need only the pixel dimensions and ignore the density metadata entirely.
If your file has no usable density, do not conclude that it is a 72 DPI image or that it is low quality. Instead, choose a target physical size or a required PPI and calculate the relationship. You may add the label later if the destination specifically requires it, but record that the new value is your chosen setting rather than a measurement recovered from the original.
4. Calculate the print size separately
Use inches = pixels ÷ PPI along each axis. For a 2400 × 3000 pixel image at 300 PPI, width is 2400 ÷ 300 = 8 inches and height is 3000 ÷ 300 = 10 inches. At 150 PPI, the same file corresponds to 16 × 20 inches. No pixels have been added in either calculation.
You can also work backward from placement. If that same image fills 12 × 15 inches, each axis provides 200 PPI. A stored 300 DPI label does not change that arithmetic. If the target rectangle has a different shape from the image, review cropping or padding before comparing the two axes.
A useful report keeps facts and assumptions apart
For a hypothetical design file, write: “2400 × 3000 pixels; stored density 300 × 300 PPI; planned print 8 × 10 inches; calculated placement density 300 PPI.” That sentence identifies the file facts, the chosen output and the calculation. It is much more useful than writing only “high resolution.”
For a file with no density, write: “2400 × 3000 pixels; density not specified; calculated size at an assumed 300 PPI is 8 × 10 inches.” The assumption is now explicit. For a conflict, list the competing values and their sources before asking which field the destination reads.
If two applications disagree
First confirm that both applications opened the same copy. Compare the filename, pixel dimensions and file size; if necessary, compare a file hash. A preview generated by a service is not necessarily the original download. Close stale previews and reopen the saved output before deciding that an edit failed.
Then compare the units. Pixels per centimetre, pixels per metre and pixels per inch are different representations. Small decimal differences can also come from storage rounding. For example, PNG’s physical density uses integers per metre, so a conversion to PPI can land near a familiar round value. A large discrepancy needs investigation; a tiny one should be interpreted in the context of the format and the print requirement.
Choose the smallest change that solves the problem
If the pixel count and composition meet the print specification but the label is wrong, change only the density metadata and verify the exported copy. If the pixels are insufficient, consider a smaller print or a better original. Resizing to a bigger grid may satisfy dimensions without supplying authentic new detail.
Finally inspect the image itself at the intended use size. Focus, motion blur, compression and noise are not measured by the DPI label. A print proof is useful when colour, texture or a costly print matters. Keep the original and your calculation so another person can reproduce the decision.
Sources and method
Reviewed on September 15, 2026. Numerical examples are worked calculations, not measurements of your image. Linked product documentation describes the cited application or standard; CheckImageDPI examples and test observations are identified separately.
Frequently asked questions
Can I check DPI from a screenshot?
You can check the screenshot file, but its metadata does not reliably tell you the original image’s density.
Does a missing DPI label mean the image cannot be printed?
No. Its pixel dimensions and your intended physical size still allow a print-density calculation.
Is file size in megabytes a substitute for DPI?
No. Compression and metadata affect bytes. Pixel dimensions and physical placement determine effective PPI.