
To change DPI without resizing, edit the image’s density metadata and keep its pixel dimensions unchanged. Set the target, create a new copy and inspect the downloaded file. If your task requires more pixels, a density-only change is not enough.
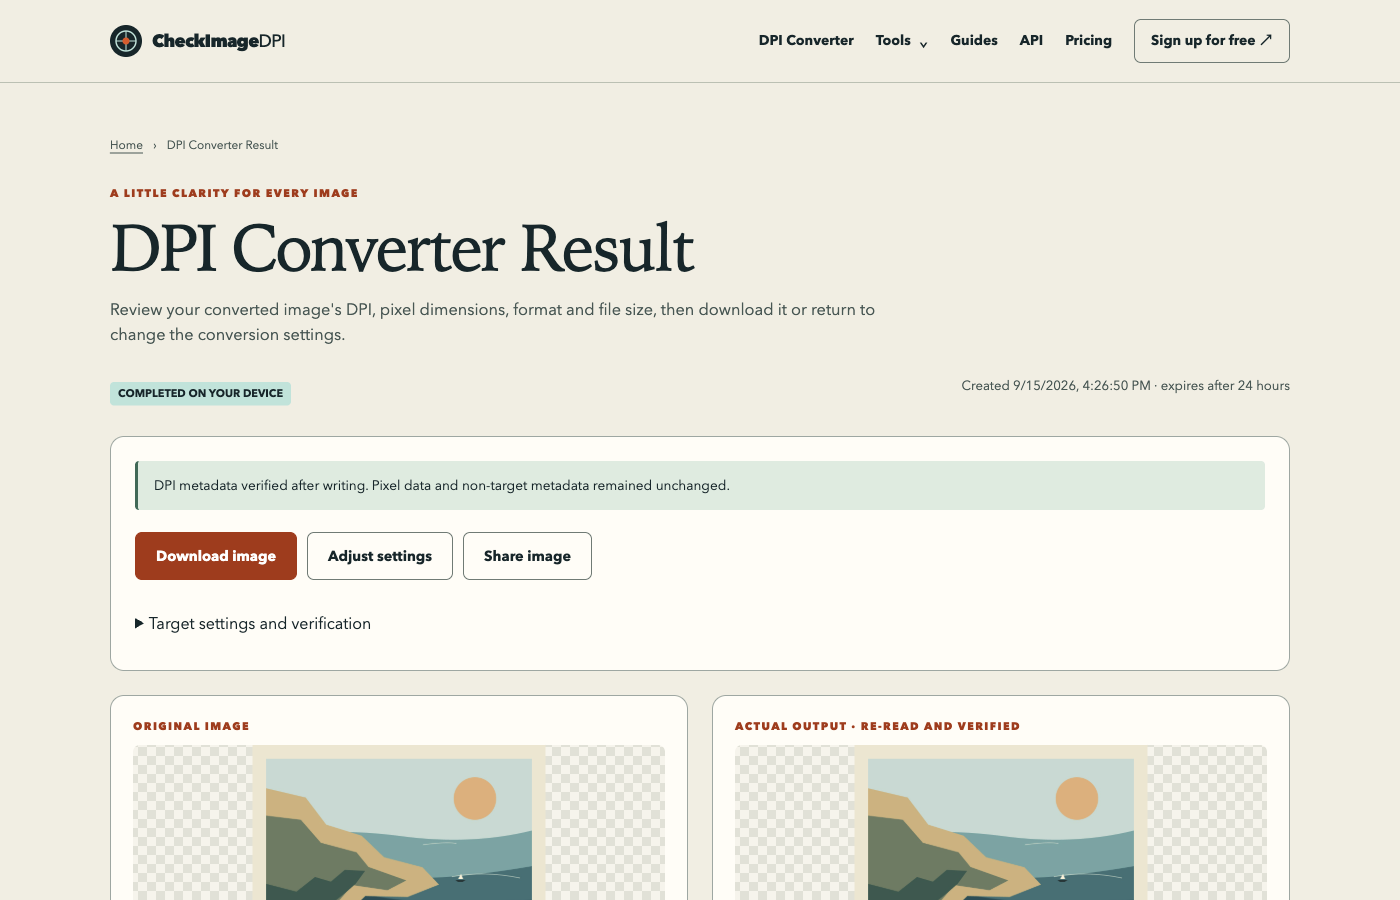
Watch a verified DPI conversion
The sample keeps its 1200 × 900 pixels. The downloaded file is checked again at 300 DPI.
Decide whether you need metadata or new pixels
A print service might ask for “300 DPI” while also requiring a particular physical size. Translate that requirement into pixels before making a change. For 8 × 10 inches at 300 PPI, you need 2400 × 3000 pixels. If the source already has that grid, a label change may be all that is necessary.
If the source is only 1200 × 1500, changing its density to 300 gives a 4 × 5 inch size at that density. It does not make it equivalent to the larger original. Keep the source pixels, target dimensions and required density as three separate facts when deciding what to do.
Change the label on a copy
Open the free DPI Converter and choose your original image. Read its dimensions and the recorded horizontal and vertical densities. If a source value is missing, the new setting is your chosen target; it is not a recovered original fact. If values conflict, review the warning before writing a consistent output.
Choose 300 DPI or enter the required custom value. Run the conversion and wait for the result. Compare original and output dimensions, the written density and any warnings. Download the new copy under a distinguishable name. Keep the untouched original until your destination accepts the result and you have checked it visually.
Worked example: 72 to 300 DPI
Consider a 2400 × 3000 pixel image with a 72 PPI label. At that recorded density it corresponds to approximately 33.33 × 41.67 inches. Setting 300 PPI changes the indicated size to 8 × 10 inches. The pixel grid and the picture’s captured detail remain the same.
This explains why “increasing DPI” can make the reported physical dimensions smaller. The calculation distributes the same pixels more densely. It also explains why the file may look identical in a browser before and after conversion: the operation is not intended to change the visible image or its CSS display size.
Reopen the downloaded file
Do not stop at seeing a success message. Reopen the actual downloaded copy in DPI Checker or the destination application and read both axes. Confirm that the width and height in pixels match the original. A temporary preview, old tab or similarly named file can make a successful change appear to have failed.
Small rounding differences can be normal for a format’s density storage. Large conflicts require checking which records the application reads. If the output has lost important orientation, colour or provenance information, pause and return to the original. A successful density write alone is not evidence that every aspect of an unrelated export workflow was preserved.
When you really need to resize
Use Image Resizer when the destination requires a new pixel width or height, a crop, padding or a different composition. Those actions change pixels. A 1200 × 1500 image enlarged to 2400 × 3000 has more pixel positions, but the extra positions are estimated from the source rather than recovered camera detail.
Decide whether to crop or pad when the target ratio differs. Stretching a portrait to fit a wider rectangle may satisfy a dimension check while distorting the subject. Make that choice before the final density check so your calculation refers to the pixels that will actually reach the print.
An editor alternative with resampling disabled
In Photoshop, Adobe documents Image > Image Size, disabling Resample and then changing width, height or resolution to retain the current pixel dimensions. Work on a copy and verify the export afterward. The key decision is whether the editor is changing density and physical size together or generating a different pixel grid.
Do not assume a similarly named control in every editor has identical behaviour. Watch the pixel dimensions while adjusting settings. If they change when you wanted a label-only edit, cancel and review the resampling option. An application’s file-format export can introduce additional changes even when the size dialog looked correct.
The short demonstration follows the same checks
The accompanying workflow is designed to show an original selection, its recorded density, a 300 DPI target, conversion, the dedicated result page, unchanged pixel dimensions and the final download. The text steps remain sufficient without audio or video. No result should depend on watching an autoplay clip.
Use those checkpoints when reviewing any demonstration. The image shown before conversion must be the same original used to produce the output. A large “300” label on a mocked screen is not a verification. The useful evidence is the exported file, its reread density and its unchanged dimensions.
If the receiving service still rejects the copy
Read the exact error. A service might reject a format, byte size, aspect ratio, missing colour profile or insufficient pixel dimensions while presenting a generic resolution warning. Changing the label repeatedly cannot fix those unrelated constraints. Ask for the accepted format and final dimensions when the requirement is ambiguous.
If a service scales the image after upload, check the final placement preview as well as the file. Keep the new copy, the original and the specification together. For a costly or colour-critical print, a physical proof can answer questions that a metadata field cannot.
Sources and method
Reviewed on September 15, 2026. Numerical examples are worked calculations, not measurements of your image. Linked product documentation describes the cited application or standard; CheckImageDPI examples and test observations are identified separately.
Frequently asked questions
Will this make the picture sharper?
No. A density-only edit preserves the pixel grid and does not improve focus or detail.
Why is the printed-size value smaller after increasing DPI?
The same pixels are assigned more densely, so they occupy fewer physical inches.
Do I need to convert JPG to PNG first?
Not for a supported density-only change. A format conversion is a separate task with its own trade-offs.